

I have several friends that want to start Project Life albums this year but feel overwhelmed and are not sure where to start. Can you sympathize? If so this post if for you!
Let me start off by saying that I am in no way affiliated with Becky Higgins or Project Life. I’m just a customer who loves the product and wants to help!
The Good Ol’ Days:
I miss how Becky used to sale her kits. It was a one stop shop type of thing. You paid for a full kit and got everything you needed to complete an album in one whack. I’m glad I started Project Lifeing (It’s a cool word let’s go with it) before the change. Now everything is sold separately and you need to purchase the items you think you need for your kit. I get it but I can see how this could be overwhelming to someone who is new the whole Project Life craze.
Nuts and Bolts:
The great thing about PL is that it’s simple. It’s all done for you. All you need is a little time, printed photos, and a pen. That’s it! You can take it as far as you want to go after you have the basic items or you and keep it simple. With that being said the Core Kit is a big part of the simplicity of Project Life. It’s the design element that’s pulls it all together. This is where you want to start!
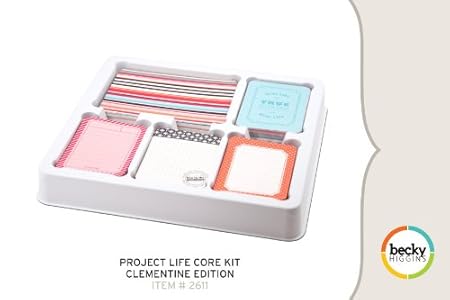
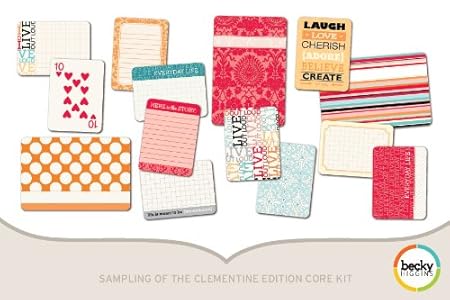
Select a core kit that you love. This year I’m using Clementine!
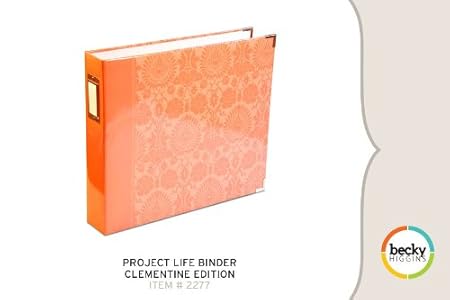
The Album:
Now that you have your design elements picked out it’s time to add an album to your cart. Becky has an album designed to match each core kit. You can select your core kit’s album or choose her solid white album. I always go with the album that coordinates with the kit I’m using.
The Pages:
This is where it can get a little tricky. There are several different photo page designs and Becky is not the only company that sales great quality photo pages that work with the Project Life album.
My suggestion would be to start with a pack of Design A. Get to know it use it in your layouts. THEN decided where you want to go from there. There are tons of ways you can use this layout.
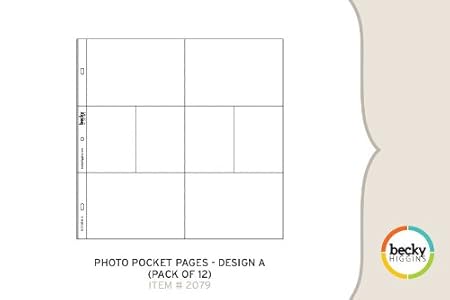
Once you’ve become familiar with the Design A layout you can decide if you want to keep going with it throughout your album or mix it up a little. I’m one for mixing it up!
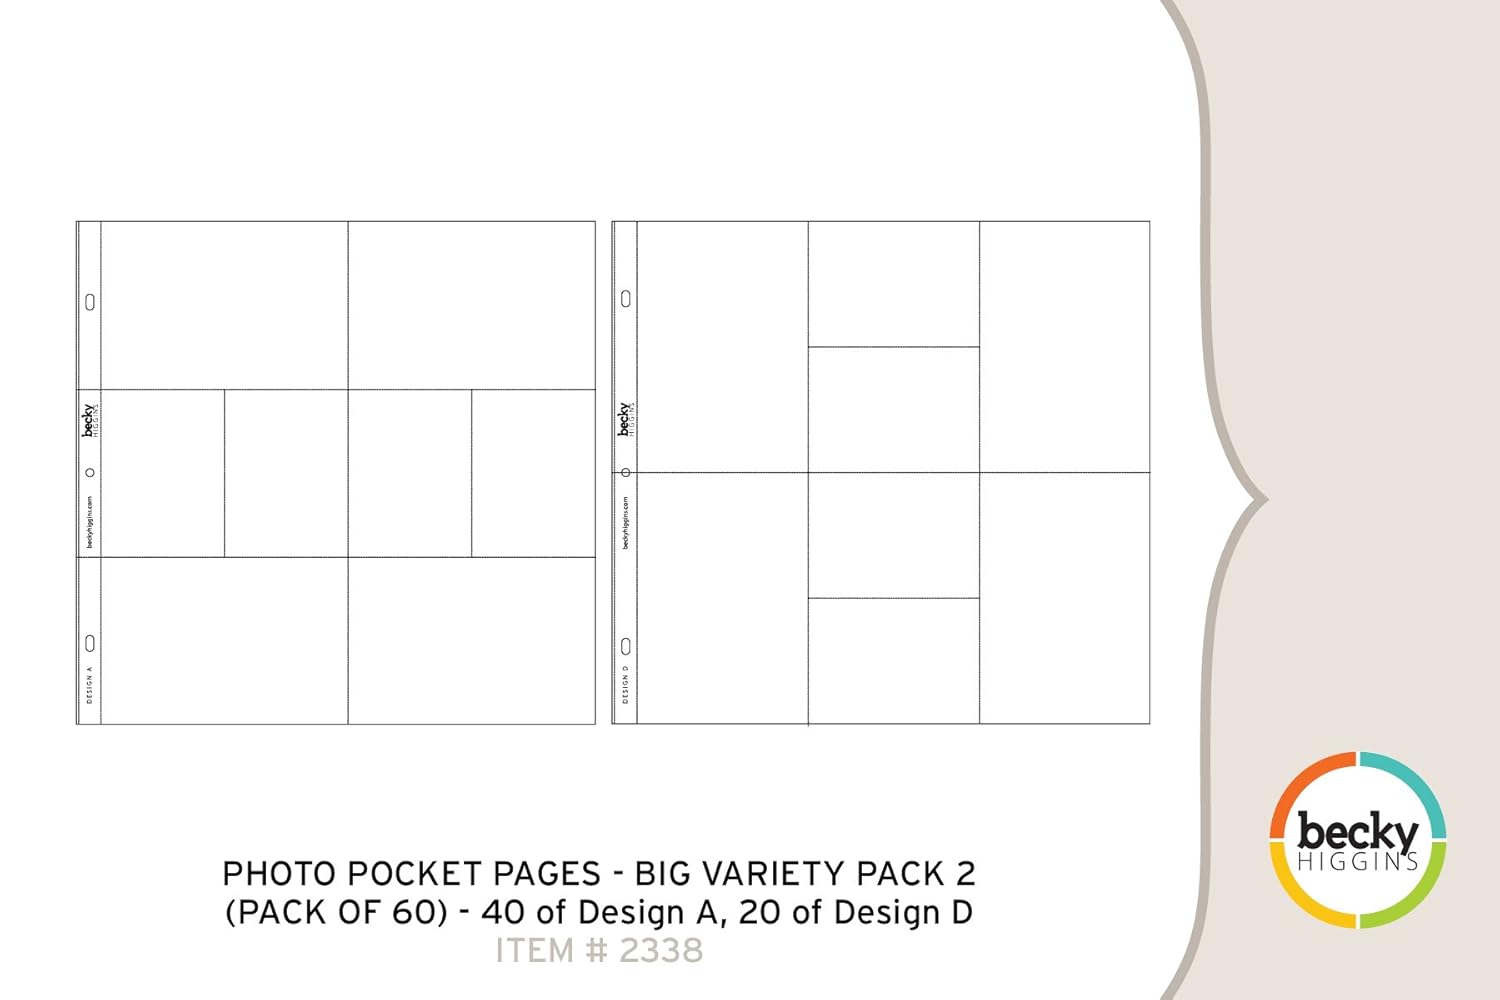
Design A and D (shown below) are the 2 designs that I use most often.
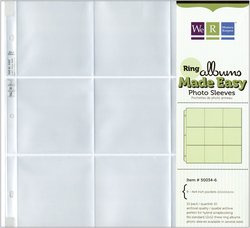
Becky tends to run out of photo pages. Don’t let that stop you! Check out other companies such as We are Memory Keepers for photo pages protector options.
Instagram
We love it……right? It’s great for capturing those precious yet random moments which is what Project Life is all about. If you’re a big Instagramer like myself you may want to include your Instagram photos in your album.
Love this photo page proctor for my Instagram photos!
The Extras:
You can go as far as you want with this. Nothing below is necessary. In fact my 1st album only included the items we’ve talked about above and it’s beautiful BUT if you want to add a little extra love to your album here are a few simple and cost effective ways you can do that!
Washi Masking Tape: You can find it online, at Target, and at you local craft supply store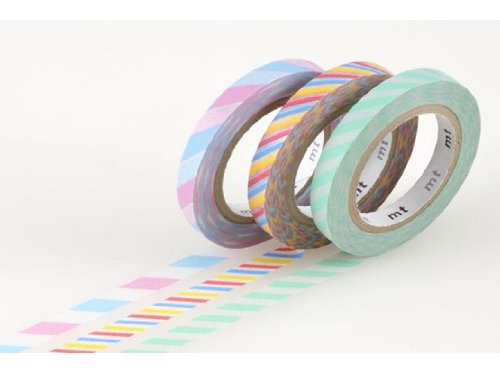
Smash Book Goodies: I love to use Smash Book accessories in my albums. They’re easy to find and not too pricey! You can find them at Target, online, and your local craft store. 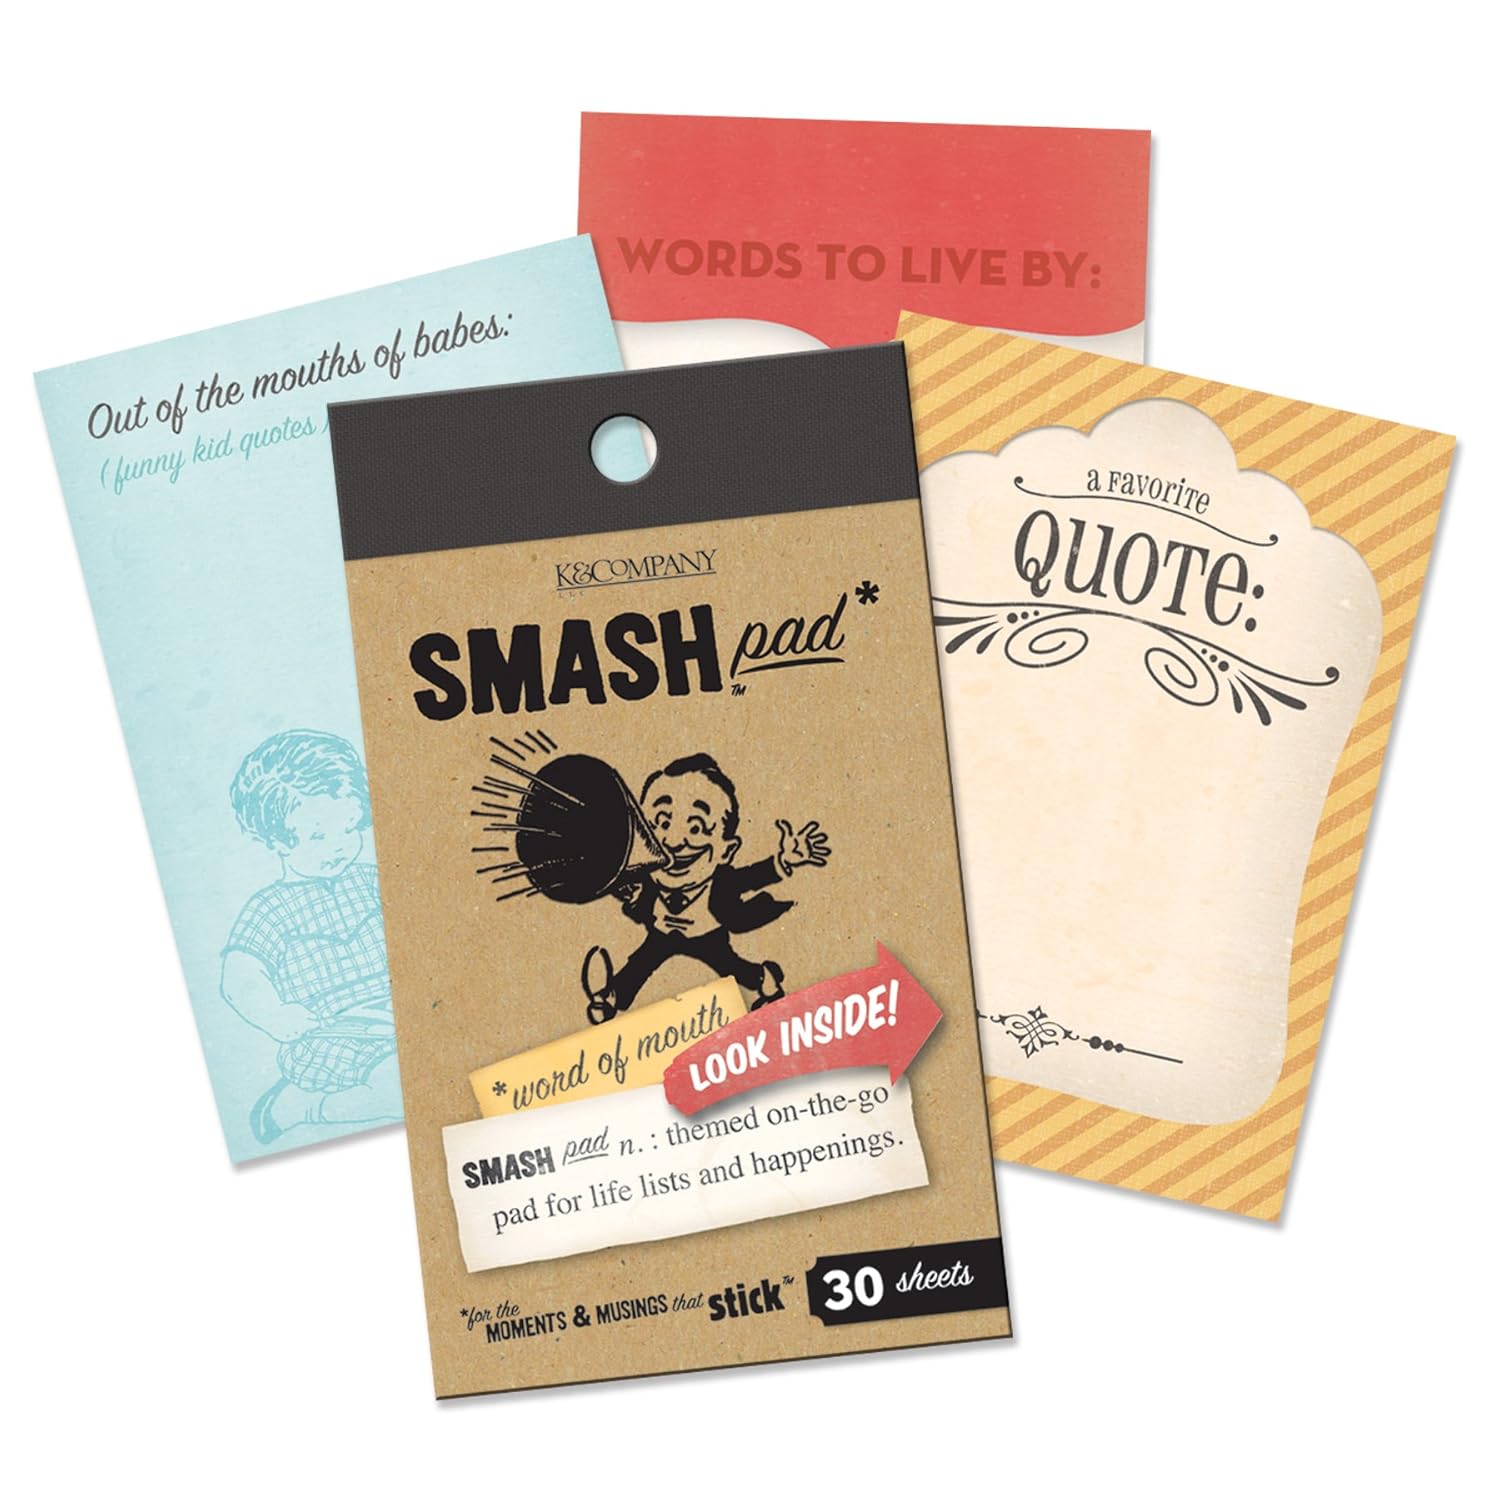
Scrapbook Paper Kits: Becky sales scrapbook paper that coordinates with the album but I like to find design elements that coordinate while adding a little something different so I don’t purchase her scrapbook paper.
You can purchase scrapbook paper by the sheet or in a kit like the one shown below. I love that the kits usually include coordinating letters and design elements. Look for scrapbook paper kits online, at Target, Wal-Mart, your local craft store and even discount stores like Tuesday Morning and Ross. Be sure you take a coupon along if your purchase yours at Michaels or Hobby Lobby! Every little bit helps, right?

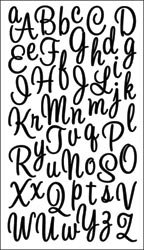
Alphabet stickers: Yep! I use them a lot in my album! Easy and cost effective way to add a little pop to your pages!
Stamps: Because they’re cute and easy to use! Tons of great stamps out there! Find a few that you like that complement the overall look of your album.

The Personal Touch:
Love that you not only add photos to your album but memorabilia as well. Here are some personal items I like to add to my Project Life album.
-Printed Blog Post
-Recipes
-Receipts from outings or things I want to remember
-Letters/cards/invitations
-Printed out emails or fb comments
-Drawings
-Magazine articles or pictures that I like
-Tickets from a movie/concert/show
-And the list goes on………
So what do you think? Are you ready to get your Project Life on? If you’re still not sure what to do I’ve included links to everything you’ve seen in this post. You can follow the links and just purchase what you see here and you’ll be good to go!
I’ll be sharing my Project Life layouts through Instagram! If you’re on Instagram let’s be buddies so I can see what you’re doing with your album as well!


No comments:
Post a Comment
I LOVE comments and read them all so knock yourself out! If you have a specific question, feel free to
e-mail me by using my e-mail link in the side bar. I would love to hear from you :o)